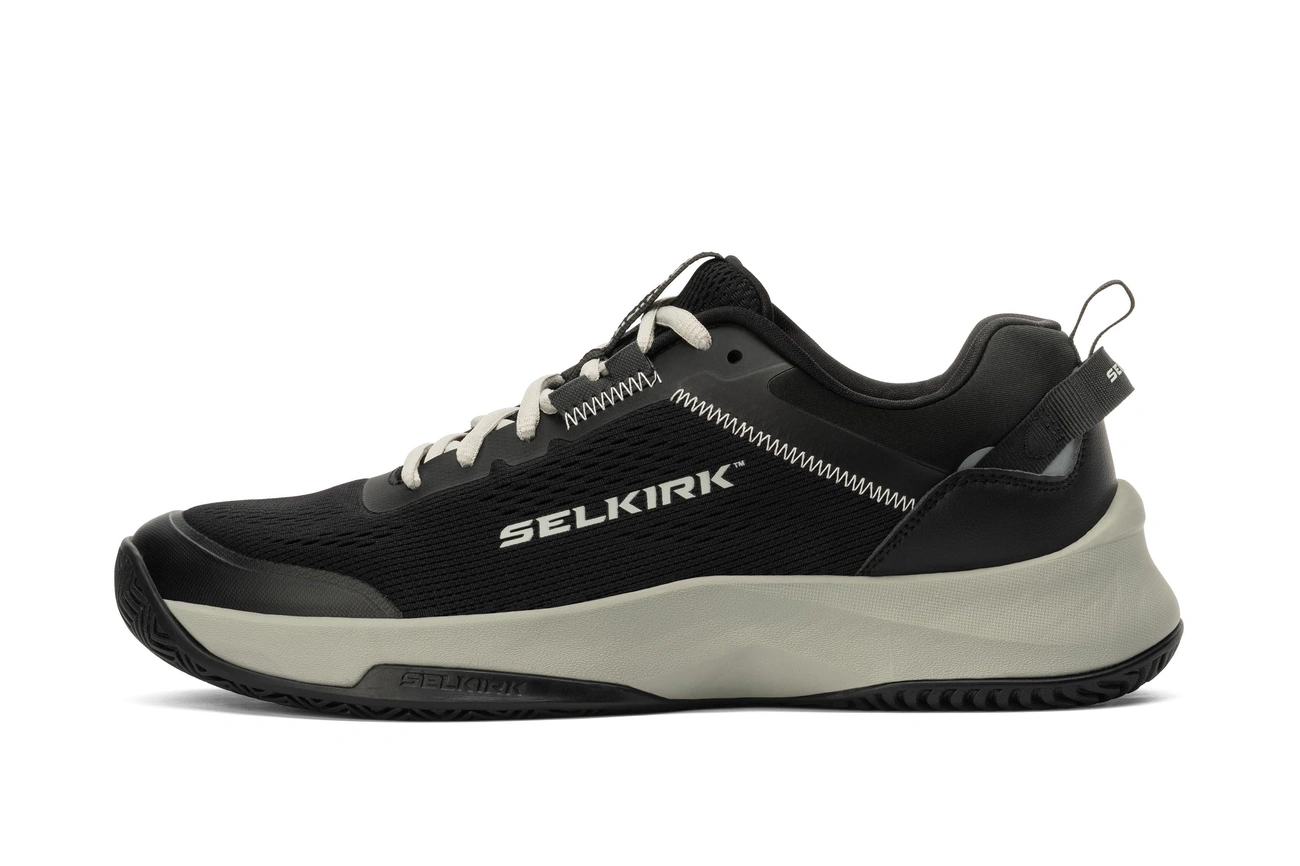
Finding court shoes is easier when you treat it as a fitting process rather than a search for a universally best model. The goal is a pair that stays secure in gentle sideways movement and leaves your toes comfortable in the socks and inserts you use for play.
This guide takes you from measurements to a try-on decision. If you need to choose a surface category first, read indoor versus outdoor outsoles. For comparing the wider buying options, start with the court-shoe shortlist guide.
Prepare the information that sizing charts need
Measure both feet using the maker's instructions, because charts may refer to foot length, insole length or another measurement. Keep those quantities separate. If a chart is unclear, contact the retailer instead of applying a conversion found for a different brand.
Have your usual court socks ready. If you use an orthosis, bring it and follow the fitting instructions from the professional who supplied it. Note your existing shoe's pressure points and whether the heel slips; “the same size as last time” can reproduce an old problem.
Compare length, width and upper volume
Check where the longest toe sits in each shoe, then where the broadest part of the forefoot lands. You need room for normal movement without repeated contact at the front. The heel should stay secure with comfortable lacing, and the top of the shoe should not press painfully on the instep.
Length alone cannot solve a mismatch in width or depth. If the shoe is too narrow but already long enough, compare a wide version or a different shape. If the foot sits unusually high in the shoe with an insert, look at interior volume and removable-insole options.
Use this try-on sequence
- Fit both shoes. Lace them as you would for play, while keeping pressure comfortable.
- Stand and walk. Look for pinching, rubbing, heel lift and toe contact.
- Bend gently. Check that the upper flexes comfortably over the toes and forefoot.
- Step sideways slowly. The foot should remain contained without rolling around inside the shoe.
- Pause and repeat. A problem that returns after relacing is worth treating as a fit mismatch.
Do this on a clean surface permitted under the return policy. Do not start with full-speed cuts in a shoe you are still evaluating. The purpose is to identify obvious fit issues before court use, not to certify its injury-prevention performance.
Recognize when lacing cannot fix the shape
Small lace adjustments can change pressure, but extreme tightening to stop heel slip can create discomfort elsewhere. Likewise, repeatedly loosening the forefoot may leave the shoe unable to hold the foot during movement. If the adjustments conflict, try another model.
Do not tolerate numbness or sharp pressure as a required break-in stage. A different size, width or construction may be more appropriate. For a deeper discussion of roomier shoes and inserts, see the wide-fit and comfort guide.
Order online with a clear exit plan
Read the return policy before purchasing, including whether indoor try-ons are allowed, which packaging must be kept and whether exchanges or return shipping cost extra. Check that you are buying the exact version shown in the size guide. Marketplace listings can combine reviews from several generations with different fit.
| Before ordering | Before wearing outside |
|---|---|
| Confirm the exact model, size and width | Inspect the shoe and verify the label matches the order |
| Read the current surface designation | Try both feet with your usual socks and inserts |
| Save the return conditions | Perform permitted gentle movement checks |
| Check seller and shipping details | Keep packaging until the fit decision is complete |
Keep a fit record for the next purchase
Write down the model, version, size, width and sock or insert setup. Note what worked and what did not. This turns the next purchase into a narrower comparison rather than another round of guessing. A new generation still deserves a fresh try-on even if the old one fit well.
The APMA advises getting the feet properly measured and choosing footwear for the activity. A professional fitting can be particularly useful when repeated purchases fail. Persistent pain, swelling or numbness requires an individual health assessment beyond a sizing chart.
Choose the pair that passes your actual fitting process. A high rating from someone with a different foot shape, court or playing schedule should be a reason to try a model, not a reason to override a poor fit.
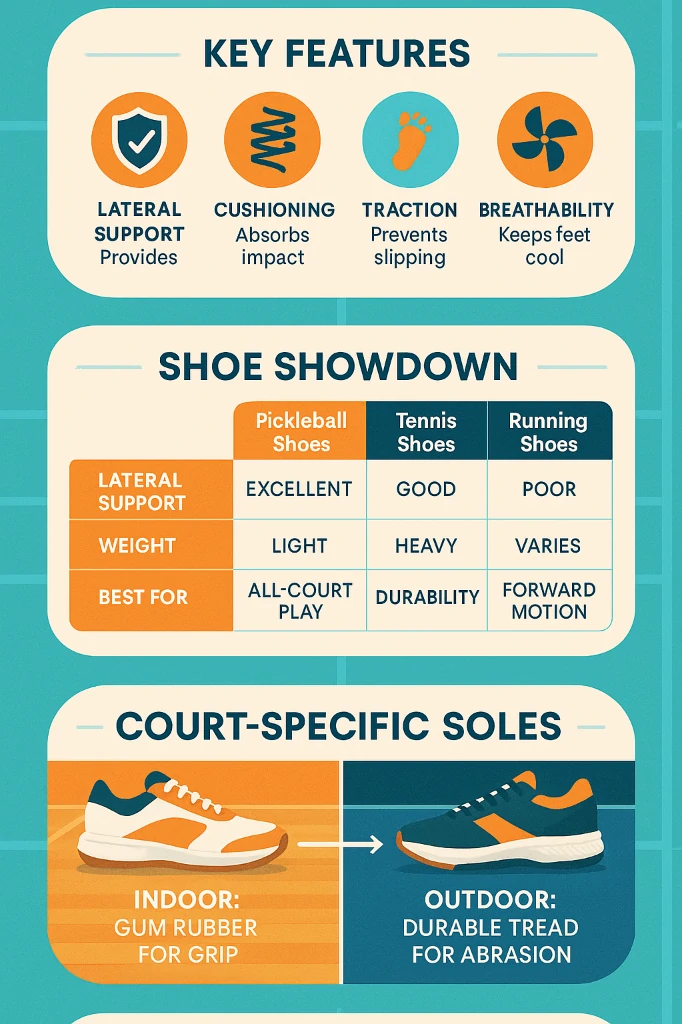
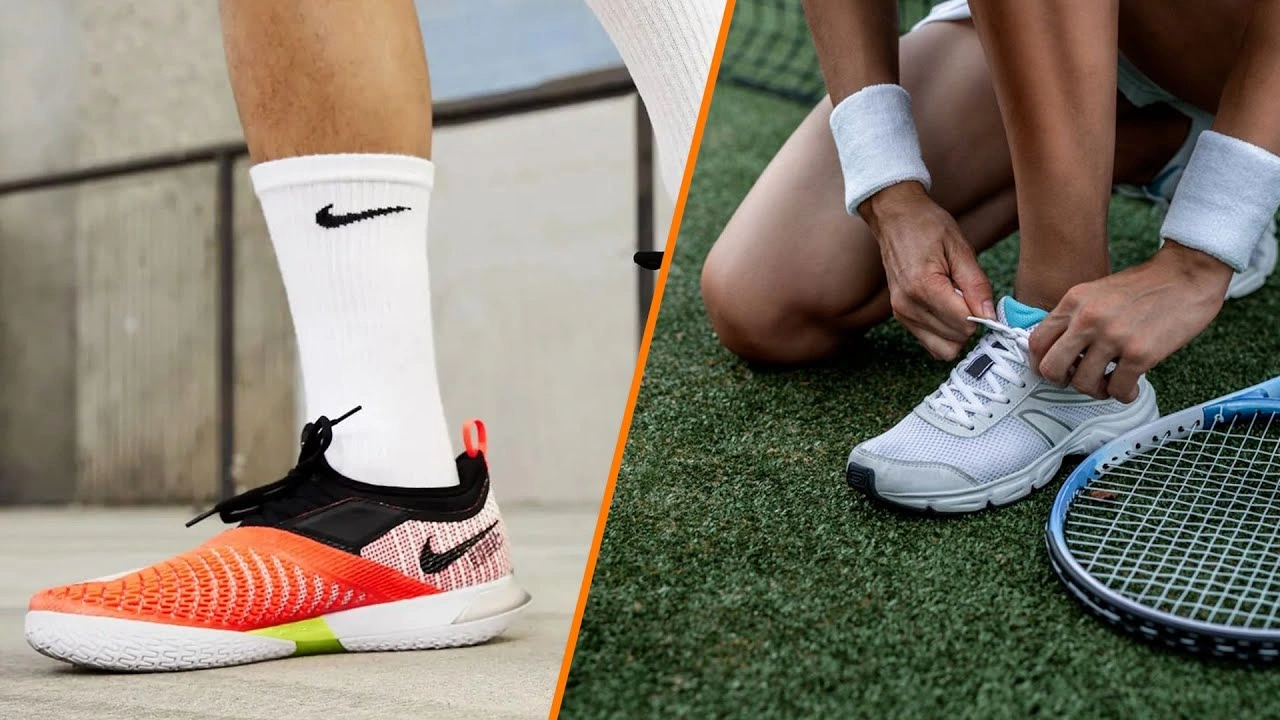
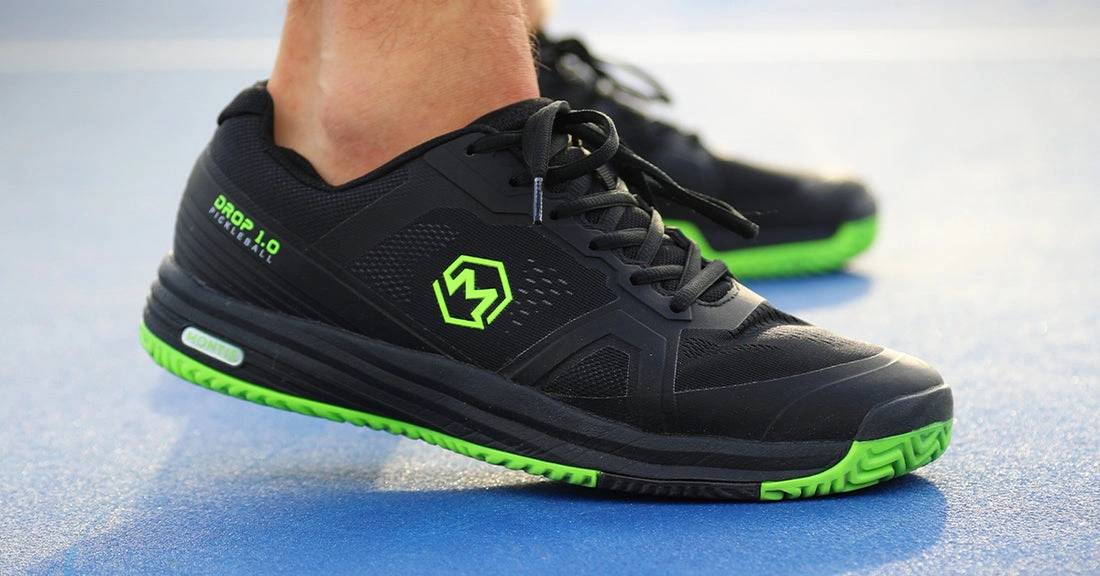
Shoe-fitting and movement illustrations
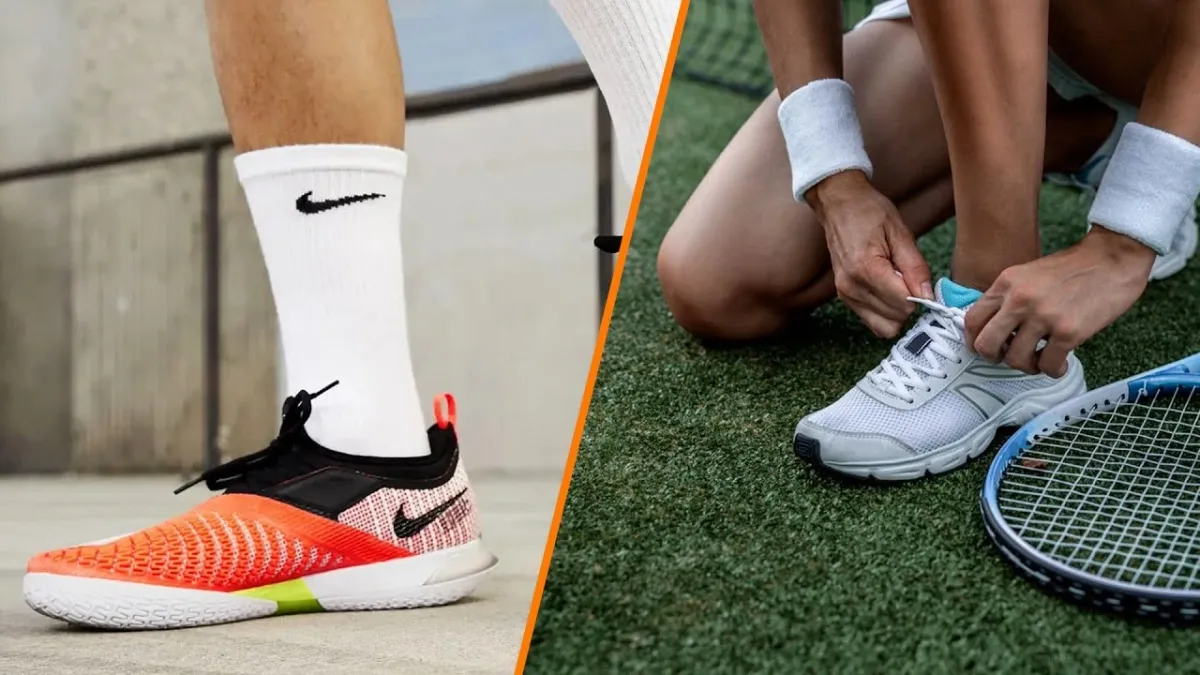
Visual examples of equipment and court settings. Images are illustrative; current specifications and fit should be checked with the maker or retailer.
Frequently asked questions
Should both feet be measured?
Yes. Compare the fit on each foot and follow the shoe maker’s measuring instructions. Do not assume one measurement or your usual casual-shoe size describes both feet accurately.
How much toe room is enough?
Allow comfortable toe movement without repeated contact at the front, while keeping the heel secure. Fit varies by shoe shape, foot shape and inserts; use an individual fitting rather than a universal size-up rule.
Can I use online reviews to choose my size?
Reviews can flag possible fit issues, but they do not replace the exact model’s chart and your own try-on. Check whether the reviews describe the same version and width you intend to order.