You do not need to master every shot before trying pickleball. Arrange a beginner session, borrow suitable equipment if available and learn the sequence of a rally. This first-session plan introduces the game without promising a particular skill level after one weekend.
Arrange a beginner-friendly place to play
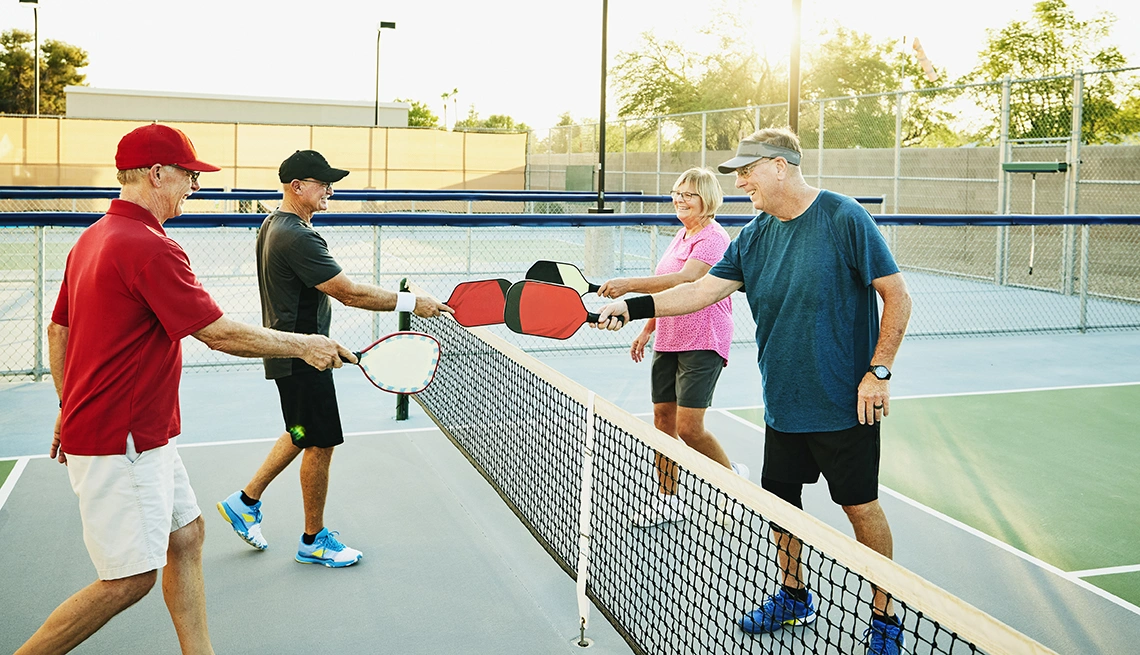
Check the venue's schedule, booking requirements, loaner equipment and open-play level. A clinic or introductory group can make scoring and court rotation easier to learn. Confirm whether the session is indoors or outdoors and what shoes are required.
Bring water and prepare for the weather. Inspect the court, avoid unsafe surfaces and warm up progressively within your comfort. Choose intensity and breaks appropriate to your experience.
Bring a small, useful kit
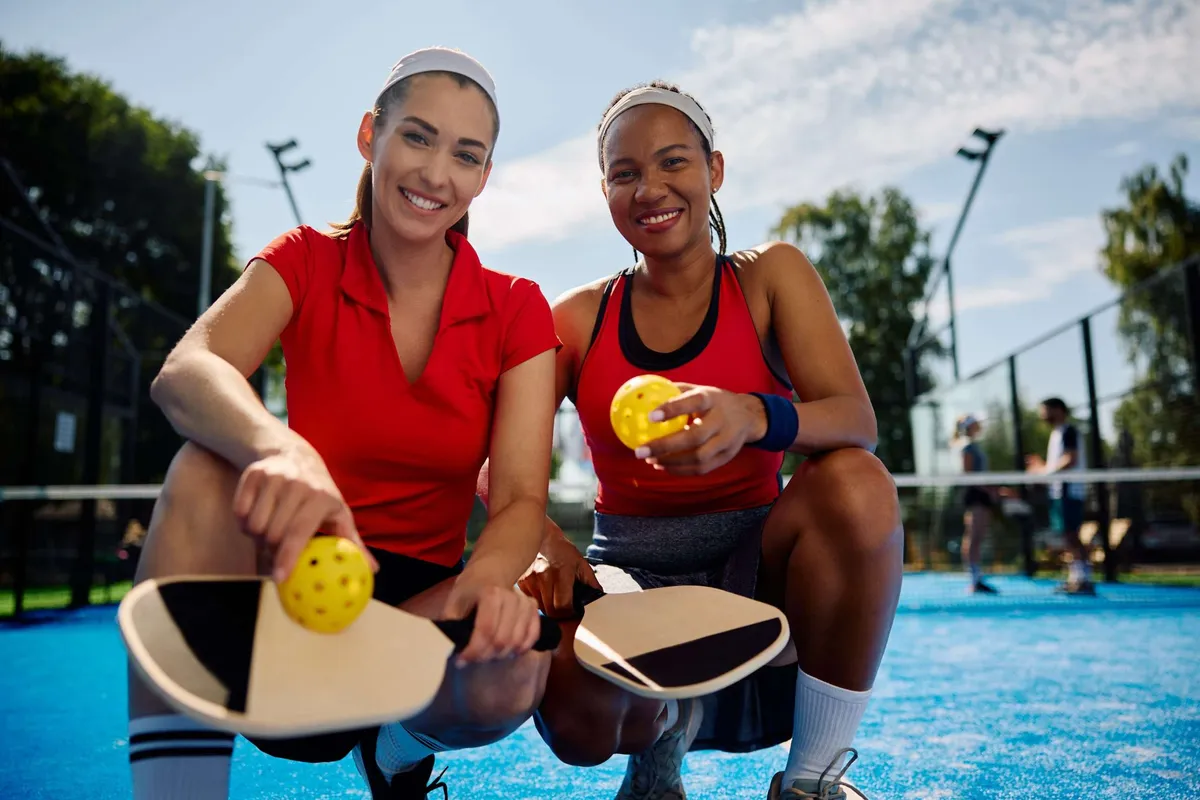
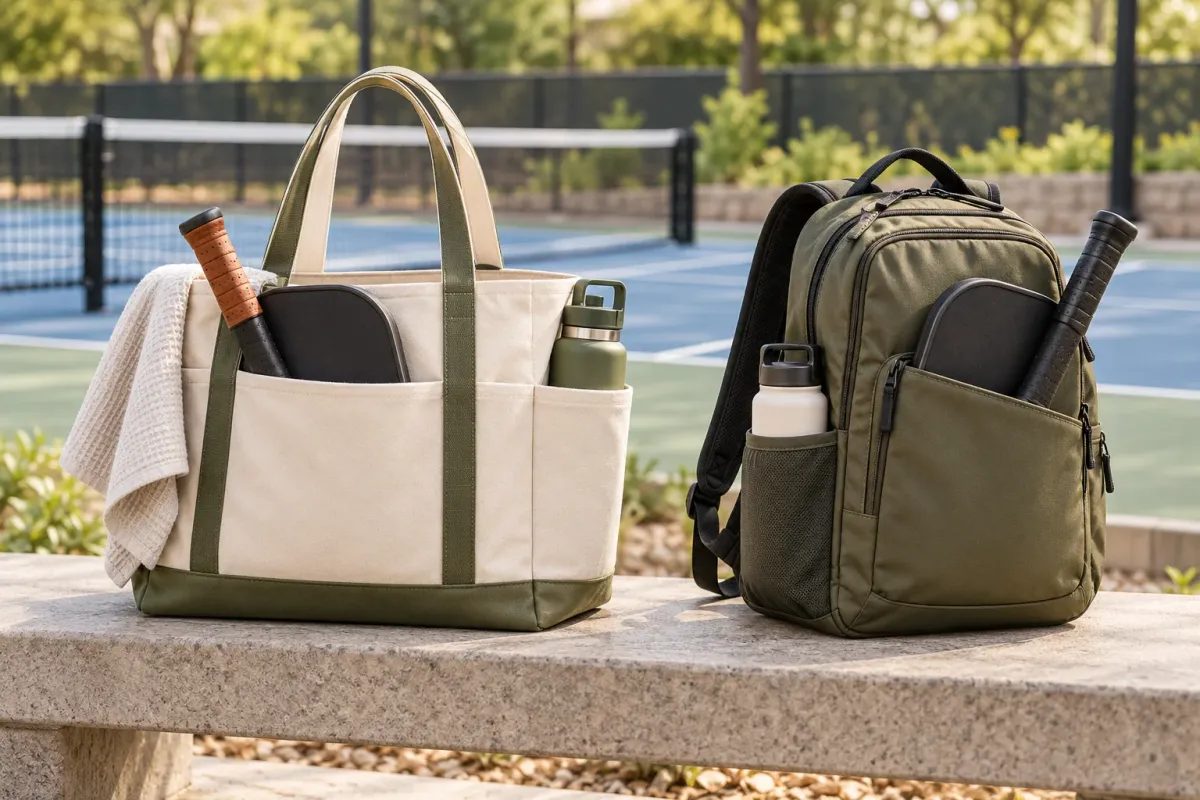
Start with a paddle, a ball appropriate to the session, suitable court shoes and comfortable clothing. A loaner paddle is a reasonable starting point. There is no required premium face material or ideal weight range that suits every beginner.
Check fit and handling before buying. See the beginner equipment checklist and the beginner paddle selection process when you know what feels comfortable.
Walk through the court
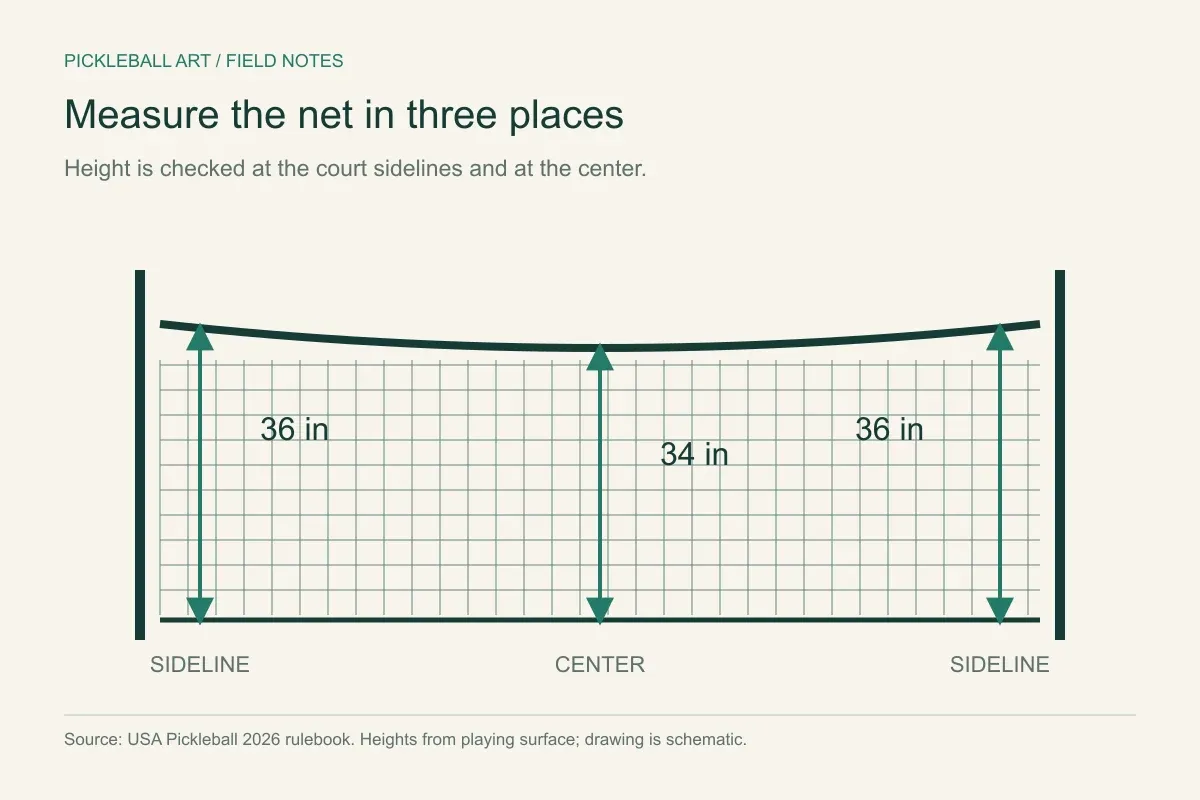
A regulation court is 20 by 44 feet. Each side has two service courts and a seven-foot non-volley zone next to the net. That zone is the kitchen. Its line belongs to it.
Point out the diagonal service target, baseline and kitchen line before starting. The current USA Pickleball rules are the source for the court and play requirements; your session organizer should explain the scoring format in use.
Practice the beginning of a rally
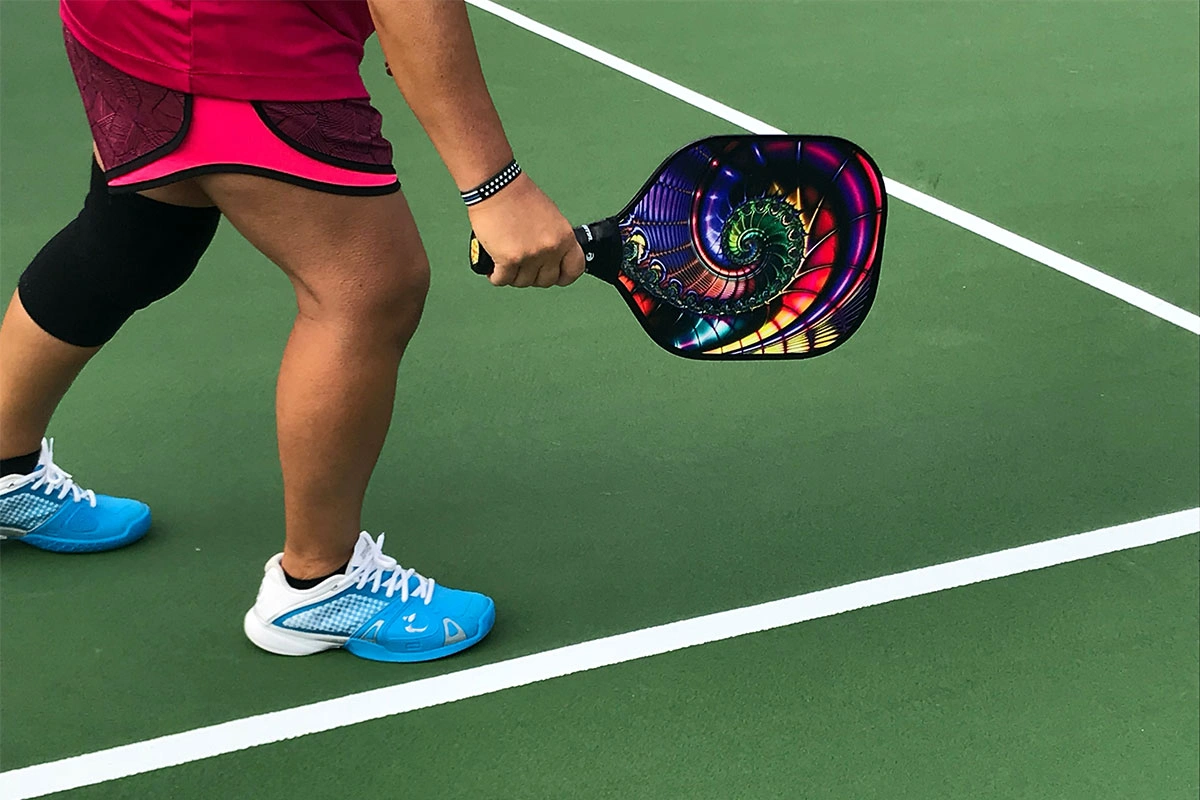
- Serve from the correct position into the diagonal service court, beyond the kitchen and its line.
- The receiver lets the serve bounce, then returns it.
- The serving side lets that return bounce before hitting it.
- After these two bounces, players can volley when the kitchen rules allow.
A drop serve can be a useful introduction: release the ball without propulsion and strike it after the bounce, following the current service requirements. A volley serve has specific motion and contact limits. Do not deliberately add spin during release.
Understand the kitchen before moving forward
You can enter the kitchen to play a bounced ball. You cannot volley while touching it or its line, and momentum from a volley cannot carry you in. After touching the zone, re-establish both feet outside before volleying.
Try gentle bounced shots first, then controlled volleys from a balanced position outside. Low feeds and a moderate pace give you time to notice your feet and contact point.
Play a short practice game
Traditional side-out scoring awards points only to the serving side. Games commonly go to 11 and win by two. In doubles, the score call includes the serving score, receiving score and server number. The opening serving team starts with only one server's turn, commonly announced as 0–0–2.
Ask an experienced partner to explain positions between rallies. Return the ball safely into court, communicate on shared balls and let the two required bounces happen. Learning reliable contact matters more at this stage than forcing a hard winner or a difficult third-shot drop.
Choose one thing for the next session
Notice whether serves, returns, scoring or movement caused the most uncertainty. Practice that element slowly or ask the instructor for a focused drill. A clear next step is more useful than measuring progress against a promised weekend result.
Frequently Asked Questions
Yes, if it is suitable for the session and in good condition. Trying a loaner can help you decide what handling and grip you prefer.
No. The serving side must let the return bounce under the two-bounce rule.
It varies with the individual, practice and instruction. This plan introduces a first session rather than guaranteeing a skill level by a deadline.