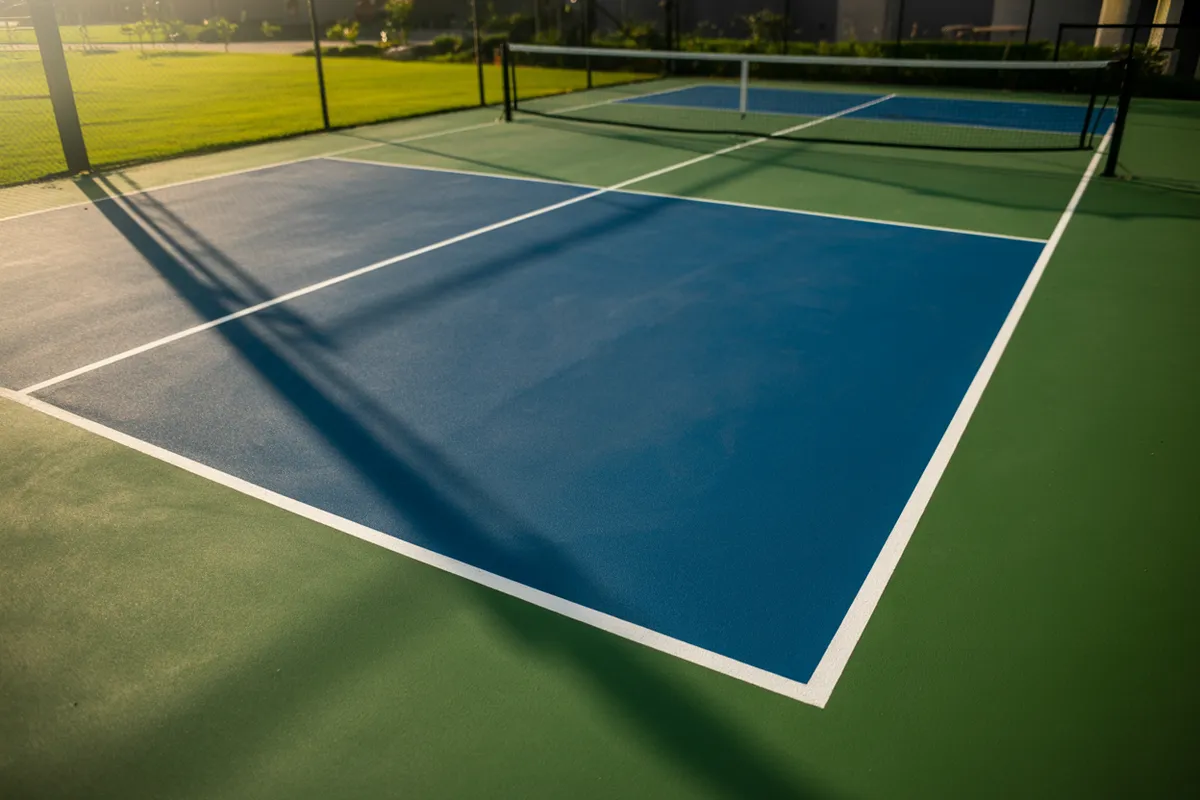

The simplest home court project is an approved, temporary setup on a suitable existing surface. It lets you assess the space before committing to permanent work. New earthworks, slabs and drainage are a construction project with site-specific requirements; they should not be treated as a guaranteed weekend task.
This guide focuses on the setup sequence. For permissions, site feasibility and a construction budget, use the separate home court planning guide. Start with the USA Pickleball court layout guidance and the equipment instructions you will actually use.
1. Inspect the surface and surrounding space
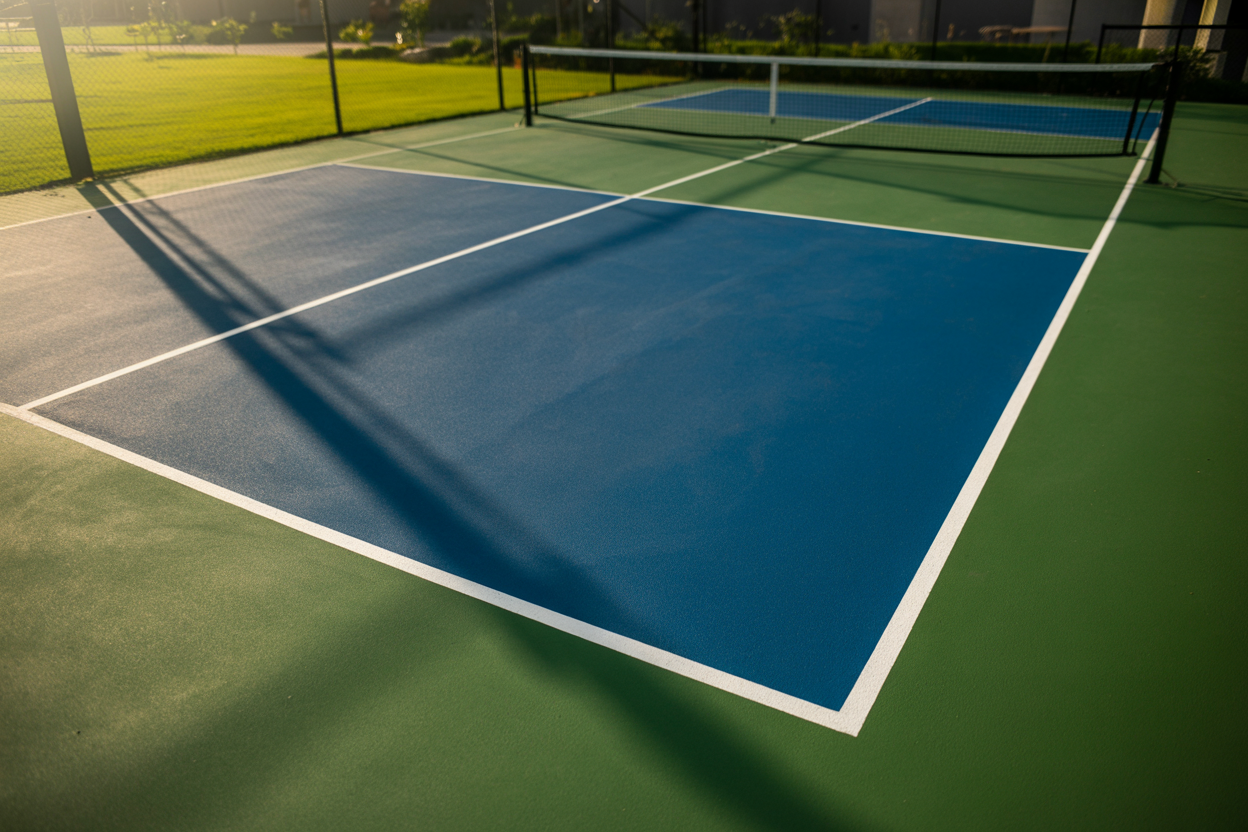
Check that you are allowed to use and mark the area. Walk the intended playing space and the surrounding run-off. Look for debris, cracks, uneven transitions, standing water, unstable edges and nearby objects that a player could hit while moving.
A painted 20-by-44-foot rectangle is not the complete space requirement. Players need clear surrounding room. Evaluate the larger area with current construction guidance and the intended use; do not force a regulation layout into a space where the margins are obstructed.
Choose a dry, manageable session for the initial setup. Stop if the surface is slippery or a hazard cannot be removed. A temporary net and lines do not make an unsuitable base safe.
2. Establish the layout before making marks
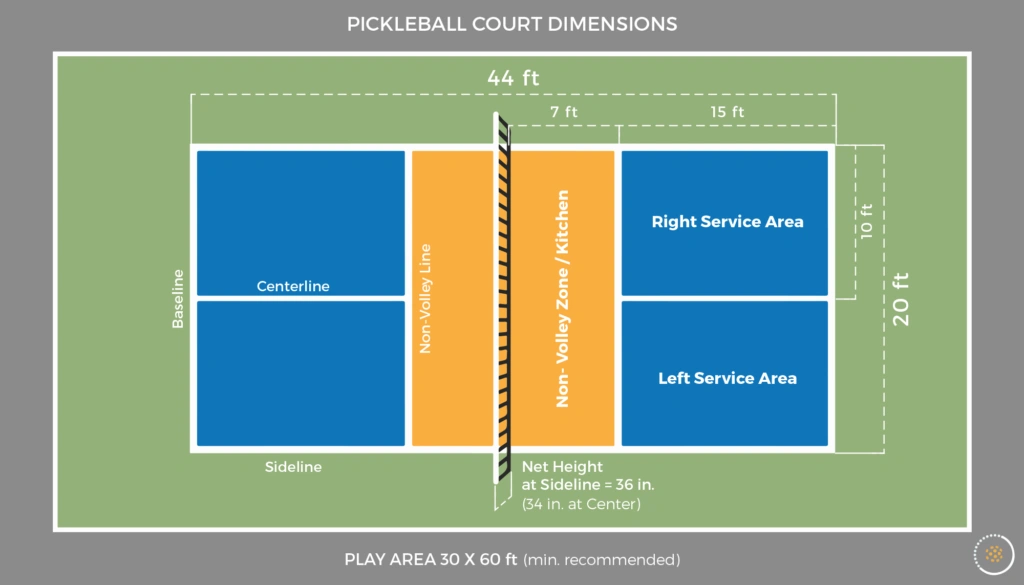
The regulation playing court is 20 feet wide and 44 feet long. The net divides its length into two equal halves; the non-volley-zone lines are seven feet from the net on each side. Mark the corners and net center temporarily, then check the layout before adding the other lines.
Use measured baselines, sidelines, non-volley-zone lines and service centerlines rather than scaling from a photograph. Check both dimensions and the rectangle’s squareness. Consult the official diagram for how boundaries are measured, especially when converting temporary marks to permanent lines.
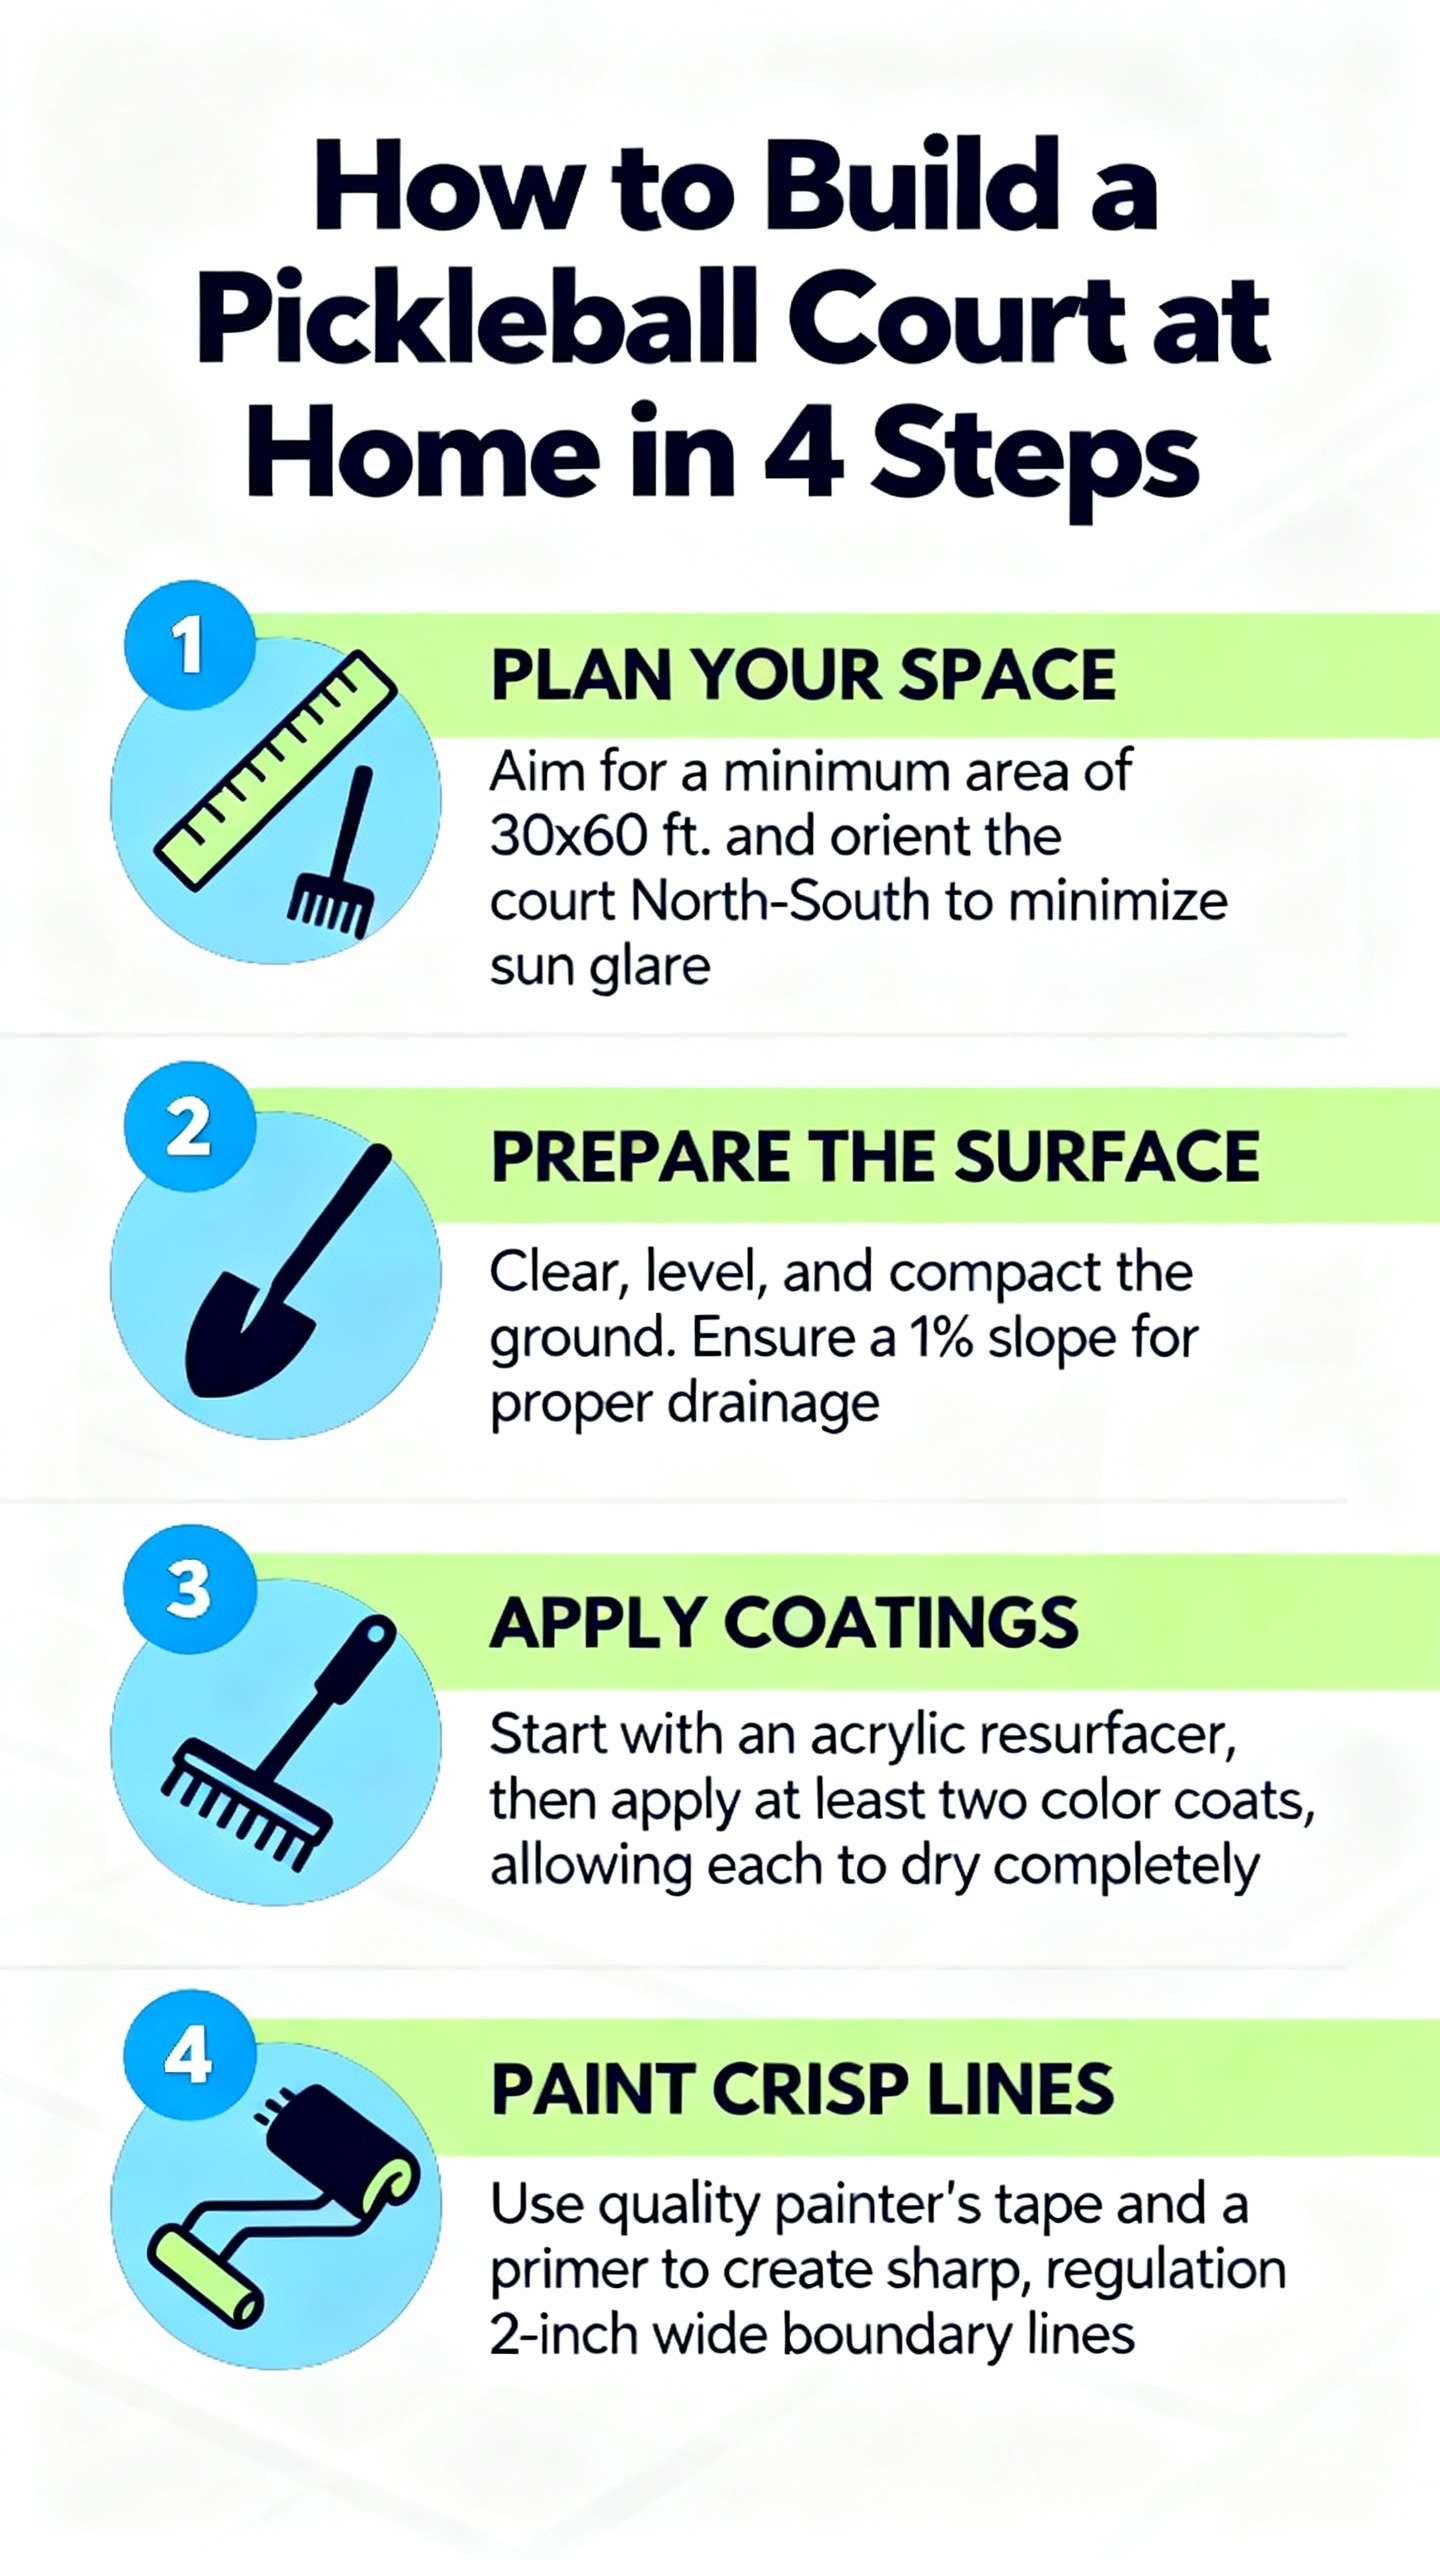
For an outdoor layout, consider sun direction and the practical orientation of the space. The construction guidance discusses a north–south orientation. Existing buildings, access and the feasible safe area also affect the final choice.
3. Choose a reversible first marking method
Chalk, purpose-made temporary lines or a suitable tape can help test a layout. Follow the product instructions and ask the surface owner about residue or damage. Check adhesion and traction before play; loose edges or raised markers can create a trip hazard.
Use a color that is clear against the surface and other existing markings. Keep the first layout simple. If the temporary arrangement proves inconvenient, you can adjust it before making a permanent surfacing decision.
4. Install and check the net
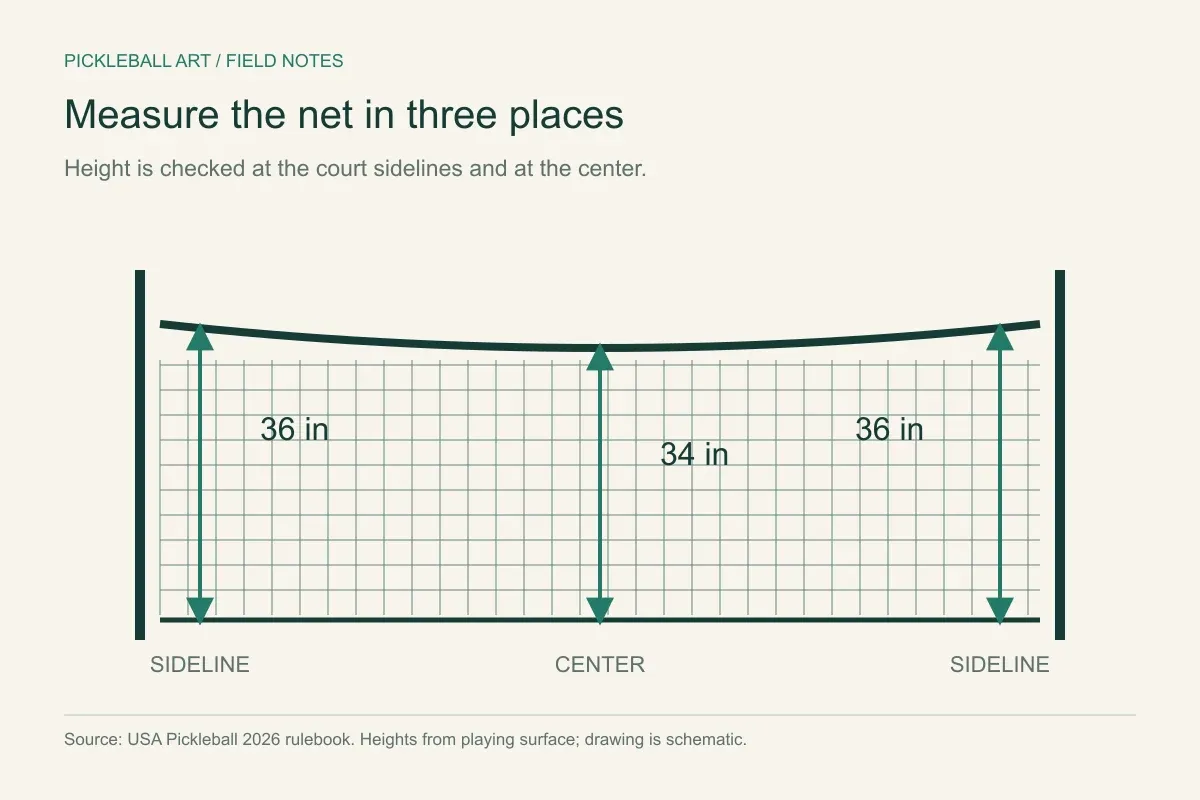
Follow the net manufacturer’s assembly and tension instructions. A standard net is 36 inches high at the sidelines and 34 inches at the center. Measure the installed net rather than relying on a pole length or a visual estimate.
Keep net feet, braces and anchors positioned as instructed and outside unnecessary movement paths. Recheck stability after assembly and during use. A portable system may suit a shared driveway or patio; permanent posts require an appropriate site-specific installation.
5. Define the permanent-work scope
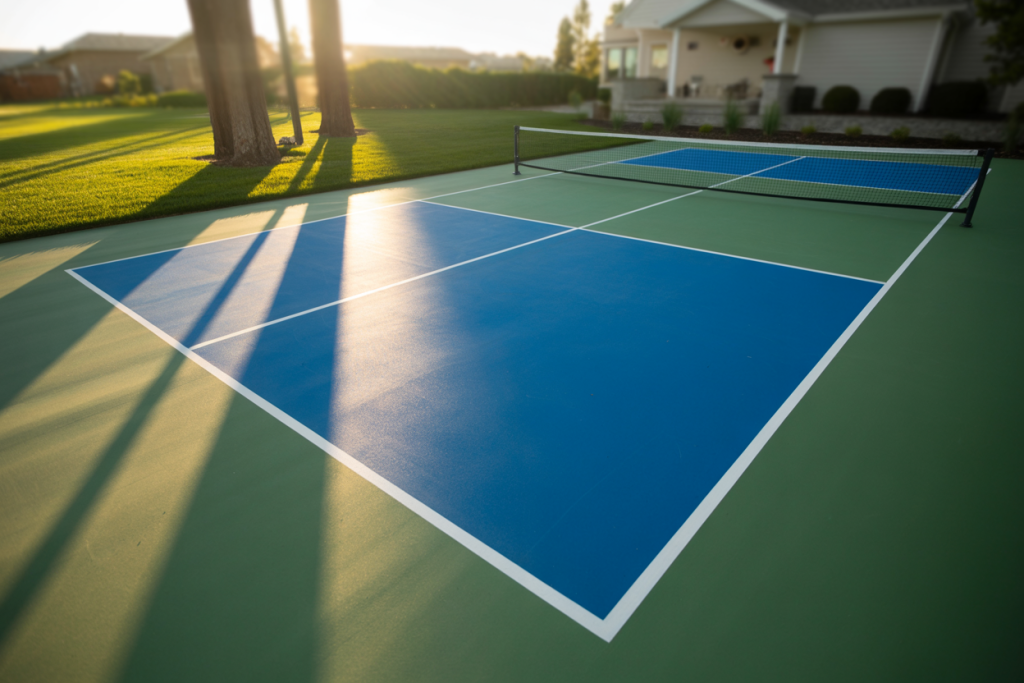
If you decide to coat or line an existing slab, first obtain an assessment of its condition and compatibility with the proposed system. Cleaning alone does not fix structural cracks, moisture problems or a poorly draining base.
Choose a sports-surface system appropriate to the base and conditions. Follow its written preparation, repair, mixing, application and cure instructions. Universal coat counts, gallon coverage figures and drying times are unreliable across products and weather. Do not substitute general house paint or an arbitrary epoxy specification for a court coating plan.
New subbases, slabs, drainage, electrical work and permanent structures need qualified planning and installation. The court construction and maintenance manual is a useful technical starting point for those discussions.
6. Mark permanent lines only after the base is ready
Once the selected surface system is ready for line work, re-establish the measurements from the official diagram. Use the specified sports line paint and the manufacturer’s recommended masking and application process. Confirm compatibility with the underlying coating.
Check the layout before paint is applied. Review corners, line width, service areas and the net position with another person. Respect the actual cure time before installing equipment or playing; dry-to-touch does not necessarily mean ready for traffic.
7. Perform a final setup check
Walk the surrounding area, inspect the net, remove loose equipment and confirm that the lines are visible. Test a few ordinary bounces and controlled movements before starting a game. Treat uneven bounce or poor traction as a reason to investigate, not something a player should adapt around.
Set reasonable operating hours and discuss nearby neighbors’ concerns. Clear debris and inspect lines, surface condition and net components regularly. For rules during play, continue with the first-game sequence.
Frequently Asked Questions
What is the simplest home court setup?
A permitted temporary layout on a suitable existing surface, using clear removable markings and a correctly installed portable net. The surface and surrounding space still need inspection.
Is a 20-by-44-foot area enough?
Those are the playing-court dimensions. Players also need clear surrounding run-off, and site requirements depend on the use and current construction guidance.
How high should the net be?
A standard pickleball net is 36 inches high at the sidelines and 34 inches at the center. Check the assembled system with a measurement.
Can every court project be finished in a weekend?
No. A temporary setup differs from building or repairing a base, drainage and permanent structures. Product cure times and site work determine the schedule.
How many coats of surface paint are needed?
Follow the selected sports-surface system’s instructions and the condition of the assessed base. There is no universal coat count or drying time for every product and site.